
Water backing up out of a gully in your own garden is one of those problems that looks small right up until it isn’t. I’ve stood over drains that started as a “slow gurgle after the washing machine cycle” and turned into raw sewage lapping at a back door within about eighteen hours. Knowing how to unblock a drain properly, in the right order, is the difference between a ten-minute fix and a £380 call-out because someone pushed a rod through a cracked pipe and made it worse.
This guide gives you the ladder I use myself and train junior engineers on: start gentle, escalate only when you have to, and stop the second the signs point to something structural. No guesswork, no wasted rods, no flooded basements.
If you want the fuller picture first — what actually causes a blocked drain and the warning signs to watch for before it gets to this stage — see our blocked drain guide.
Contents: How to unblock a drain
- What You Will Need
- Step-by-Step Method to Unblock a Drain
- When to Stop and Call a Pro
- How to Prevent It Next Time
- A Real Job: What a Bewbush Blockage Actually Cost
- Is It Safe to Unblock a Drain Yourself?
- How Long Should DIY Drain Unblocking Take?
What You Will Need
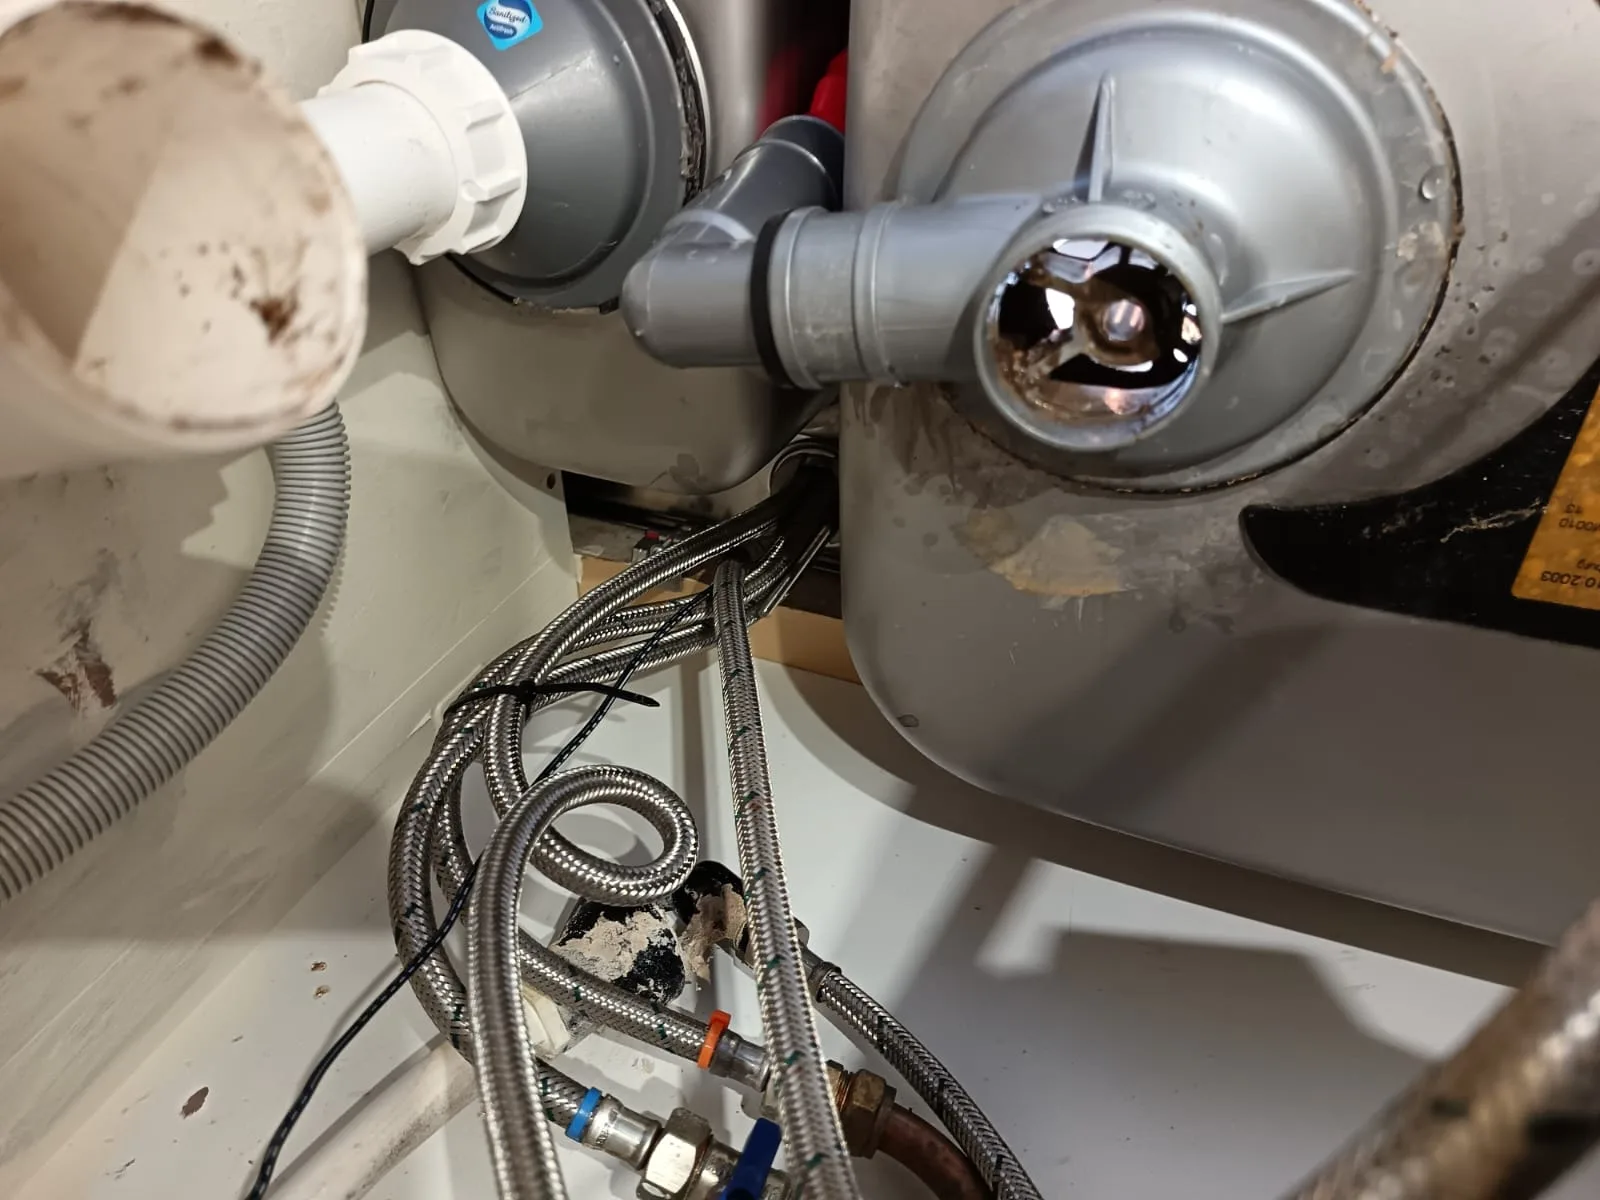
Before you touch a drain cover, get your kit together. Half the failed DIY jobs I’ve been called out to fix started because someone ran out of hot water halfway through, or didn’t have gloves and gave up rather than get their hands in it.
- Rubber gloves — proper gauntlet-length ones, not washing-up gloves
- A kettle or two of freshly boiled water, plus a bucket for topping up
- Bicarbonate of soda and white vinegar (or washing soda crystals)
- A drain rod set, if you’re going beyond the kitchen sink stage
- A plunger — sink plunger for indoor waste, a larger drain plunger for gullies
- A torch (drains are darker than you think, even at midday)
- A screwdriver to lift inspection chamber covers
- Old towels or dust sheets to protect the area around an indoor waste pipe
Step-by-Step Method to Unblock a Drain
This is the actual ladder. Each rung is a bit more aggressive than the last. Don’t skip to rods on day one — most household blockages never need them.
Step 1: Boiling water, poured slowly, twice
Boil a full kettle and pour it down the drain in two stages, waiting a couple of minutes between pours. This shifts grease-based blockages, which account for a huge share of kitchen and outside gully clogs. Don’t do this on plastic pipework that’s already showing signs of damage — near-boiling water can warp older plastic joints.
Step 2: Bicarbonate of soda and vinegar
Tip roughly half a cup of bicarbonate of soda into the drain, follow with a cup of white vinegar, and leave it to fizz for 15–20 minutes. Then flush through with more hot water. This is genuinely one of the better ways to clear a blocked drain caused by soap scum and light fat build-up — it won’t touch a solid root ingress or a collapsed pipe, but it’s cheap and it works often enough to always try first.
Step 3: Plunge it properly
For an indoor sink or an outside gully with standing water, a plunger creates pressure that a chemical pour can’t. Seal the plunger fully over the outlet, keep the motion vertical, and give it 15–20 firm pumps before checking. If the water level drops, you’ve cleared it. If it’s not moving at all after three good attempts, stop plunging and move to the next rung rather than forcing it.
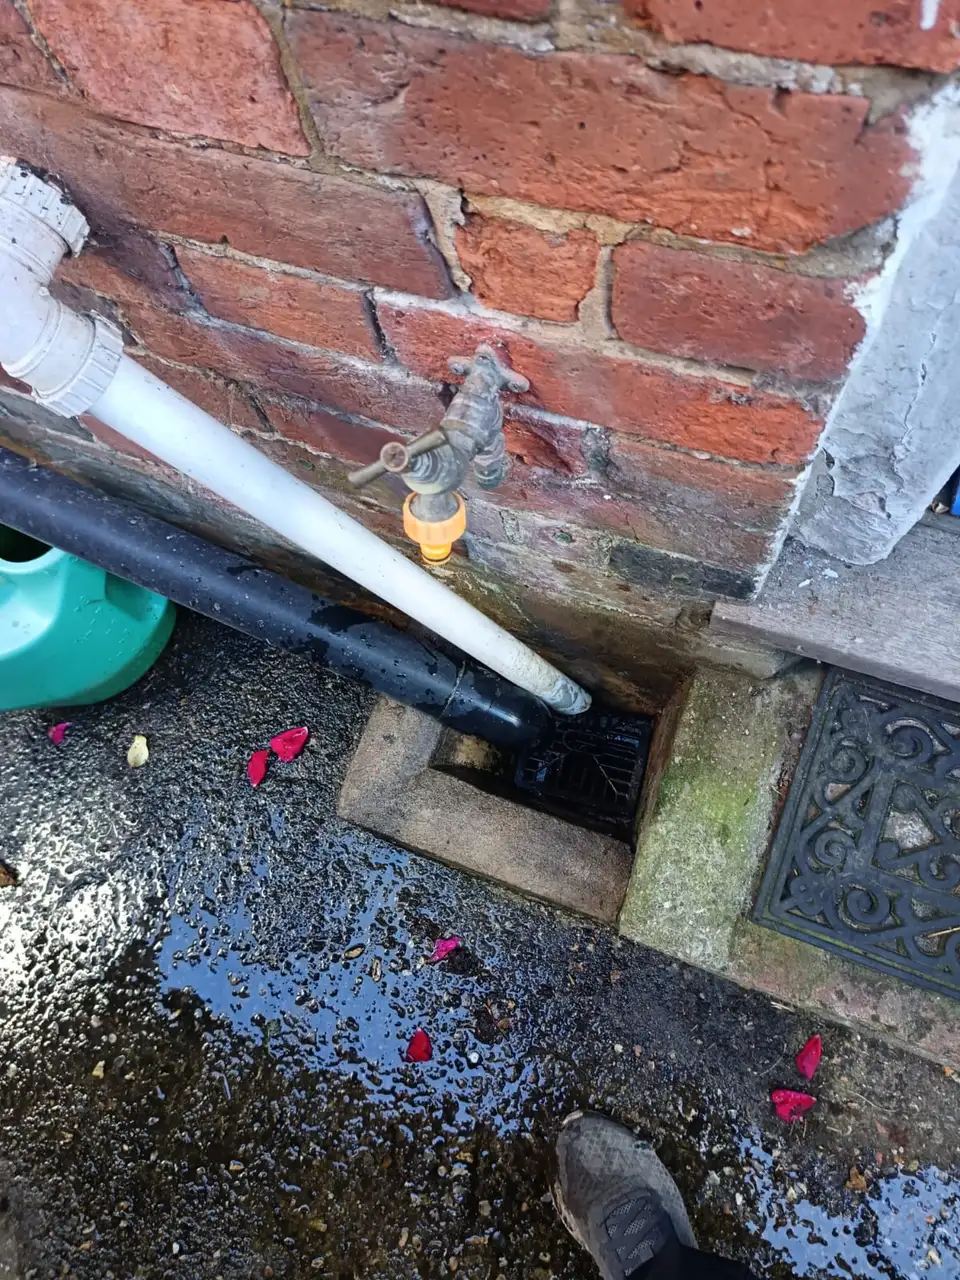
Step 4: Check the inspection chamber
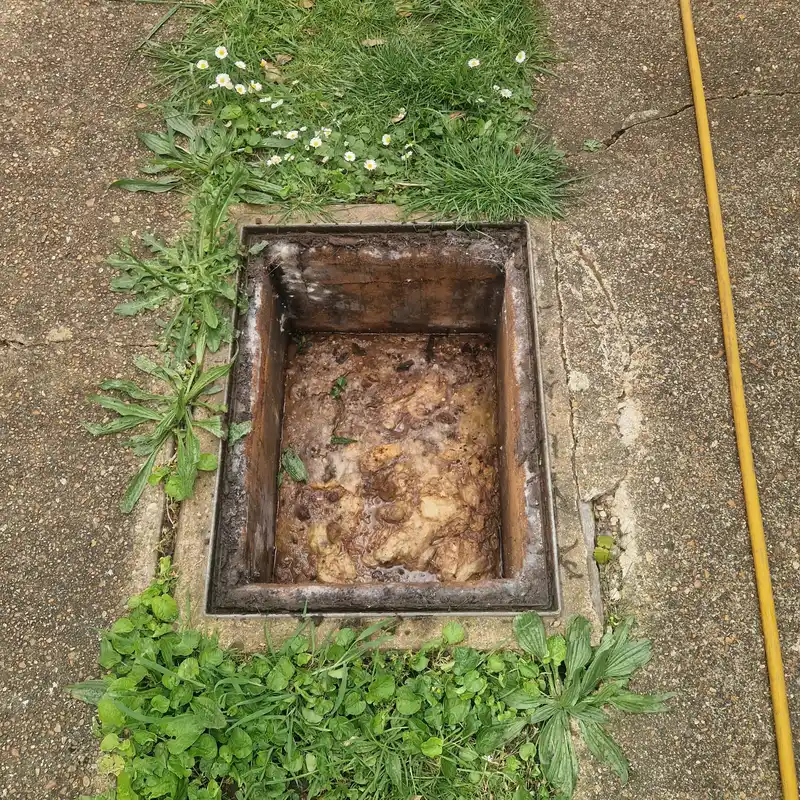
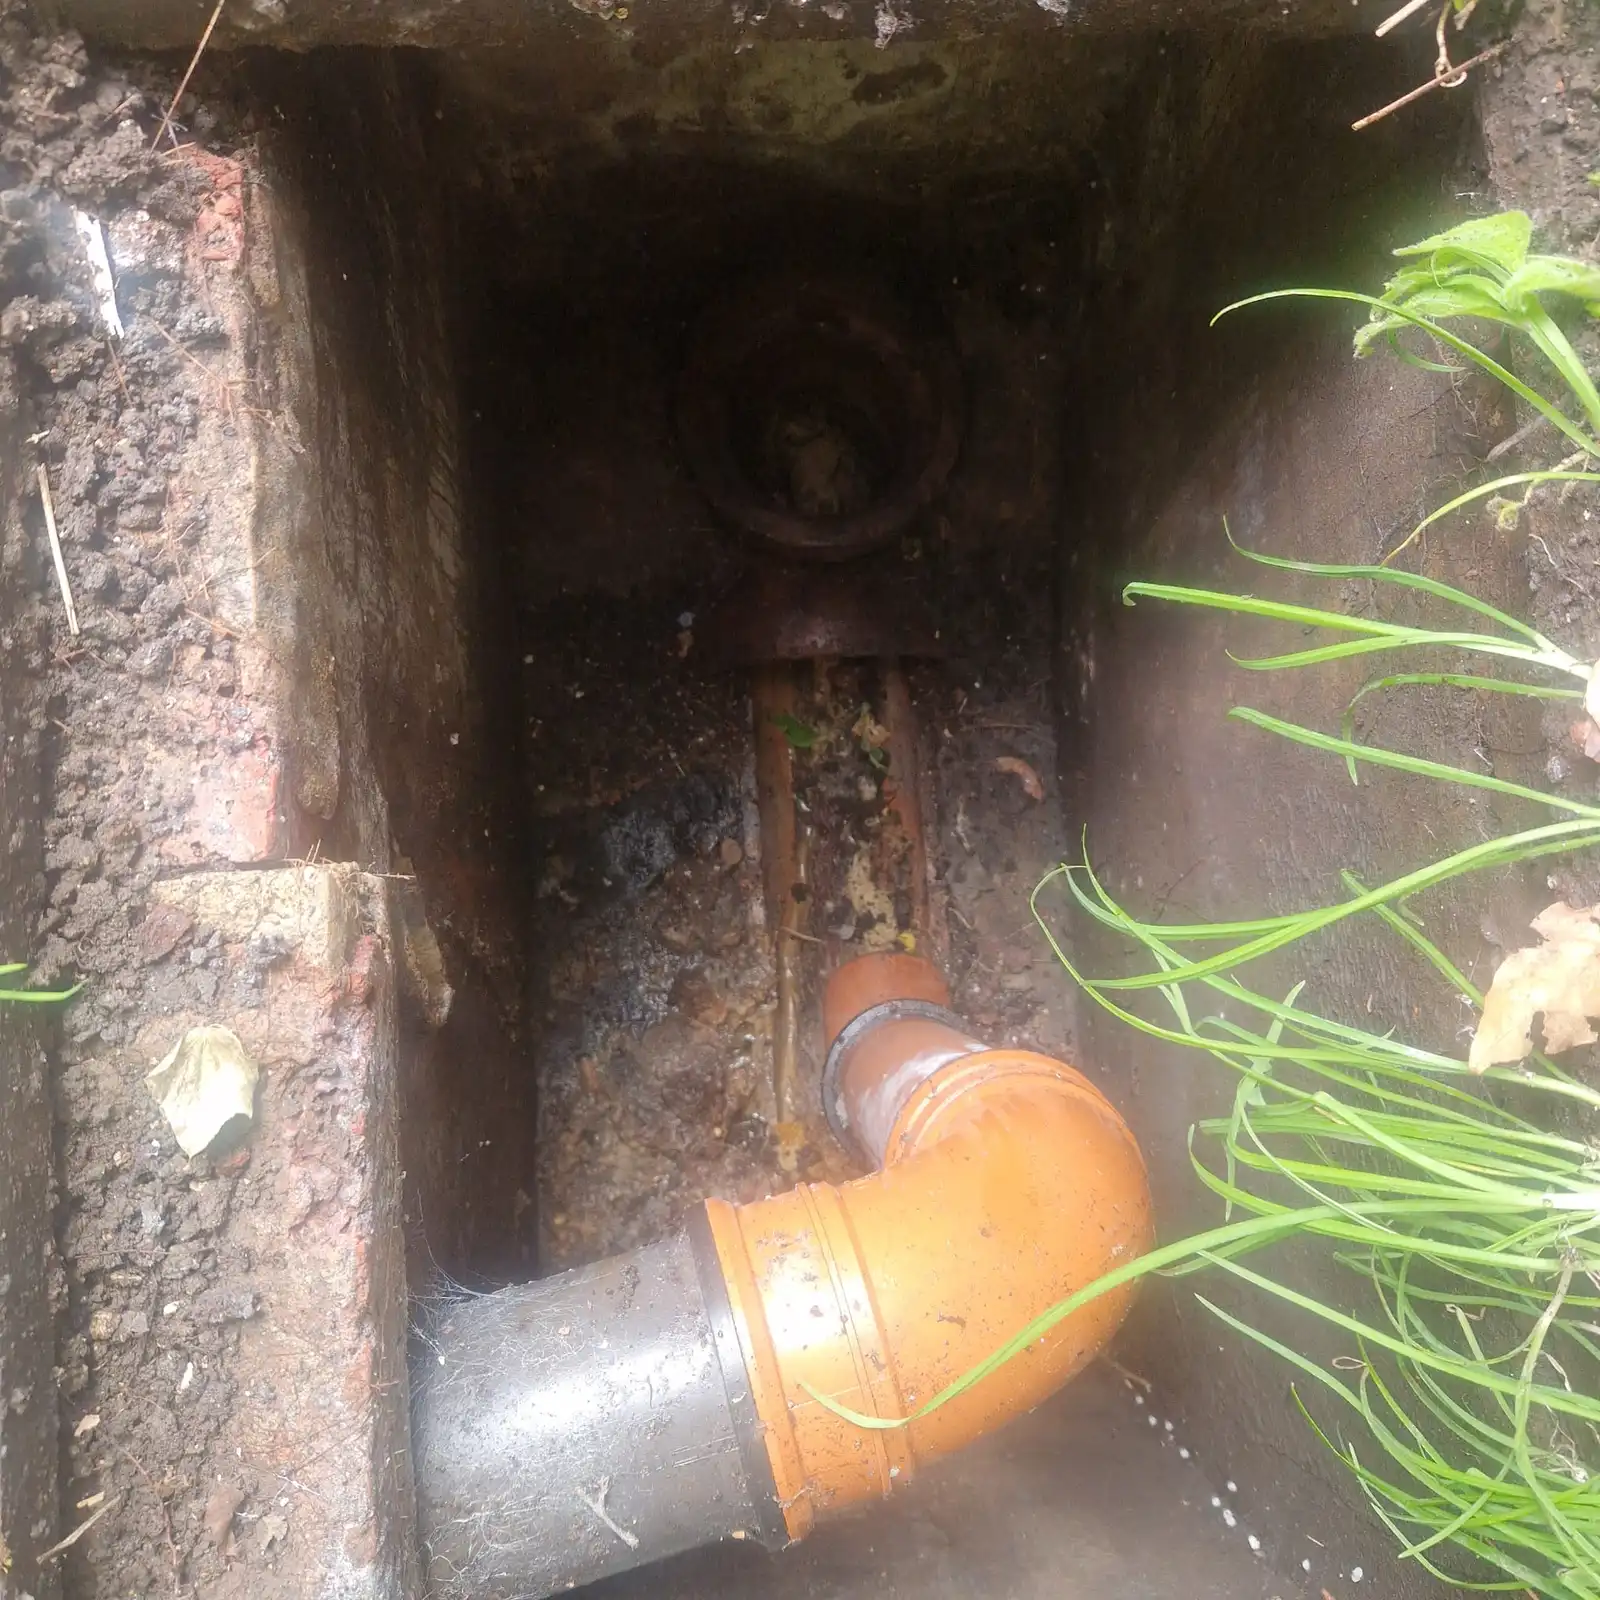
Every UK property built after the 1960s should have at least one inspection chamber — a manhole cover, usually in the front garden or under a path. Lift it with a screwdriver and torch it. If it’s full to the brim, the blockage is downstream of that chamber, toward the main sewer connection. If it’s empty, the blockage is upstream, likely nearer the house.
This single check tells you more about the actual location of a blockage than anything else you can do without specialist kit, and it’s the step most homeowners skip entirely.
Step 5: Drain rods, used correctly
If you’ve confirmed the blockage location and it’s within a few metres of an accessible chamber, drain rods are the next honest step. Screw sections together turning clockwise only — anti-clockwise unscrews them mid-pipe, and fishing rods out of a sewer is not how you want to spend your Saturday. Push firmly but never hammer or force them; a proper blocked drain fix with rods relies on steady rotation, not brute strength.
Work the rod through in short strokes, add sections as needed, and flush with water once you feel resistance give way. This is DIY drain unblocking at its most physical, and it’s also where I see the most damage done by people in a hurry.
When to Stop and Call a Pro
Here’s the escalation ladder laid out plainly, because knowing where to get off matters as much as knowing how to start.
- Stop after boiling water if the pipe is old plastic, cracked, or you can hear a hissing or knocking sound — that’s a sign of a compromised joint.
- Stop after bicarb and vinegar if the smell coming back up is sulphurous or sewage-like rather than just musty — that often means standing waste further down, not a local clog.
- Stop after plunging if water rises then drains impossibly slowly, over hours not minutes — this pattern usually means partial collapse, not a simple blockage.
- Stop at the inspection chamber if you see roots, or the chamber walls look cracked or displaced — root ingress needs CCTV survey, not rods.
- Stop with the rods immediately if you meet something solid and immovable more than 3–4 metres in, or if rodding brings back debris that looks like broken pipe material rather than fat, wipes or silt.
- Stop entirely if there’s any sewage backing up into the house, multiple fixtures blocked at once, or the smell is affecting neighbouring properties — this is a shared or main drain issue under Water UK’s remit, not a private one.
I mean this plainly: if you’ve hit real resistance and you’re not sure what it is, that uncertainty is the answer. Stop. A cracked vitrified clay pipe pushed on by an over-keen rod turns a £120 clear into a £2,000 dig-up. I’ve quoted that exact repair more times than I’d like.
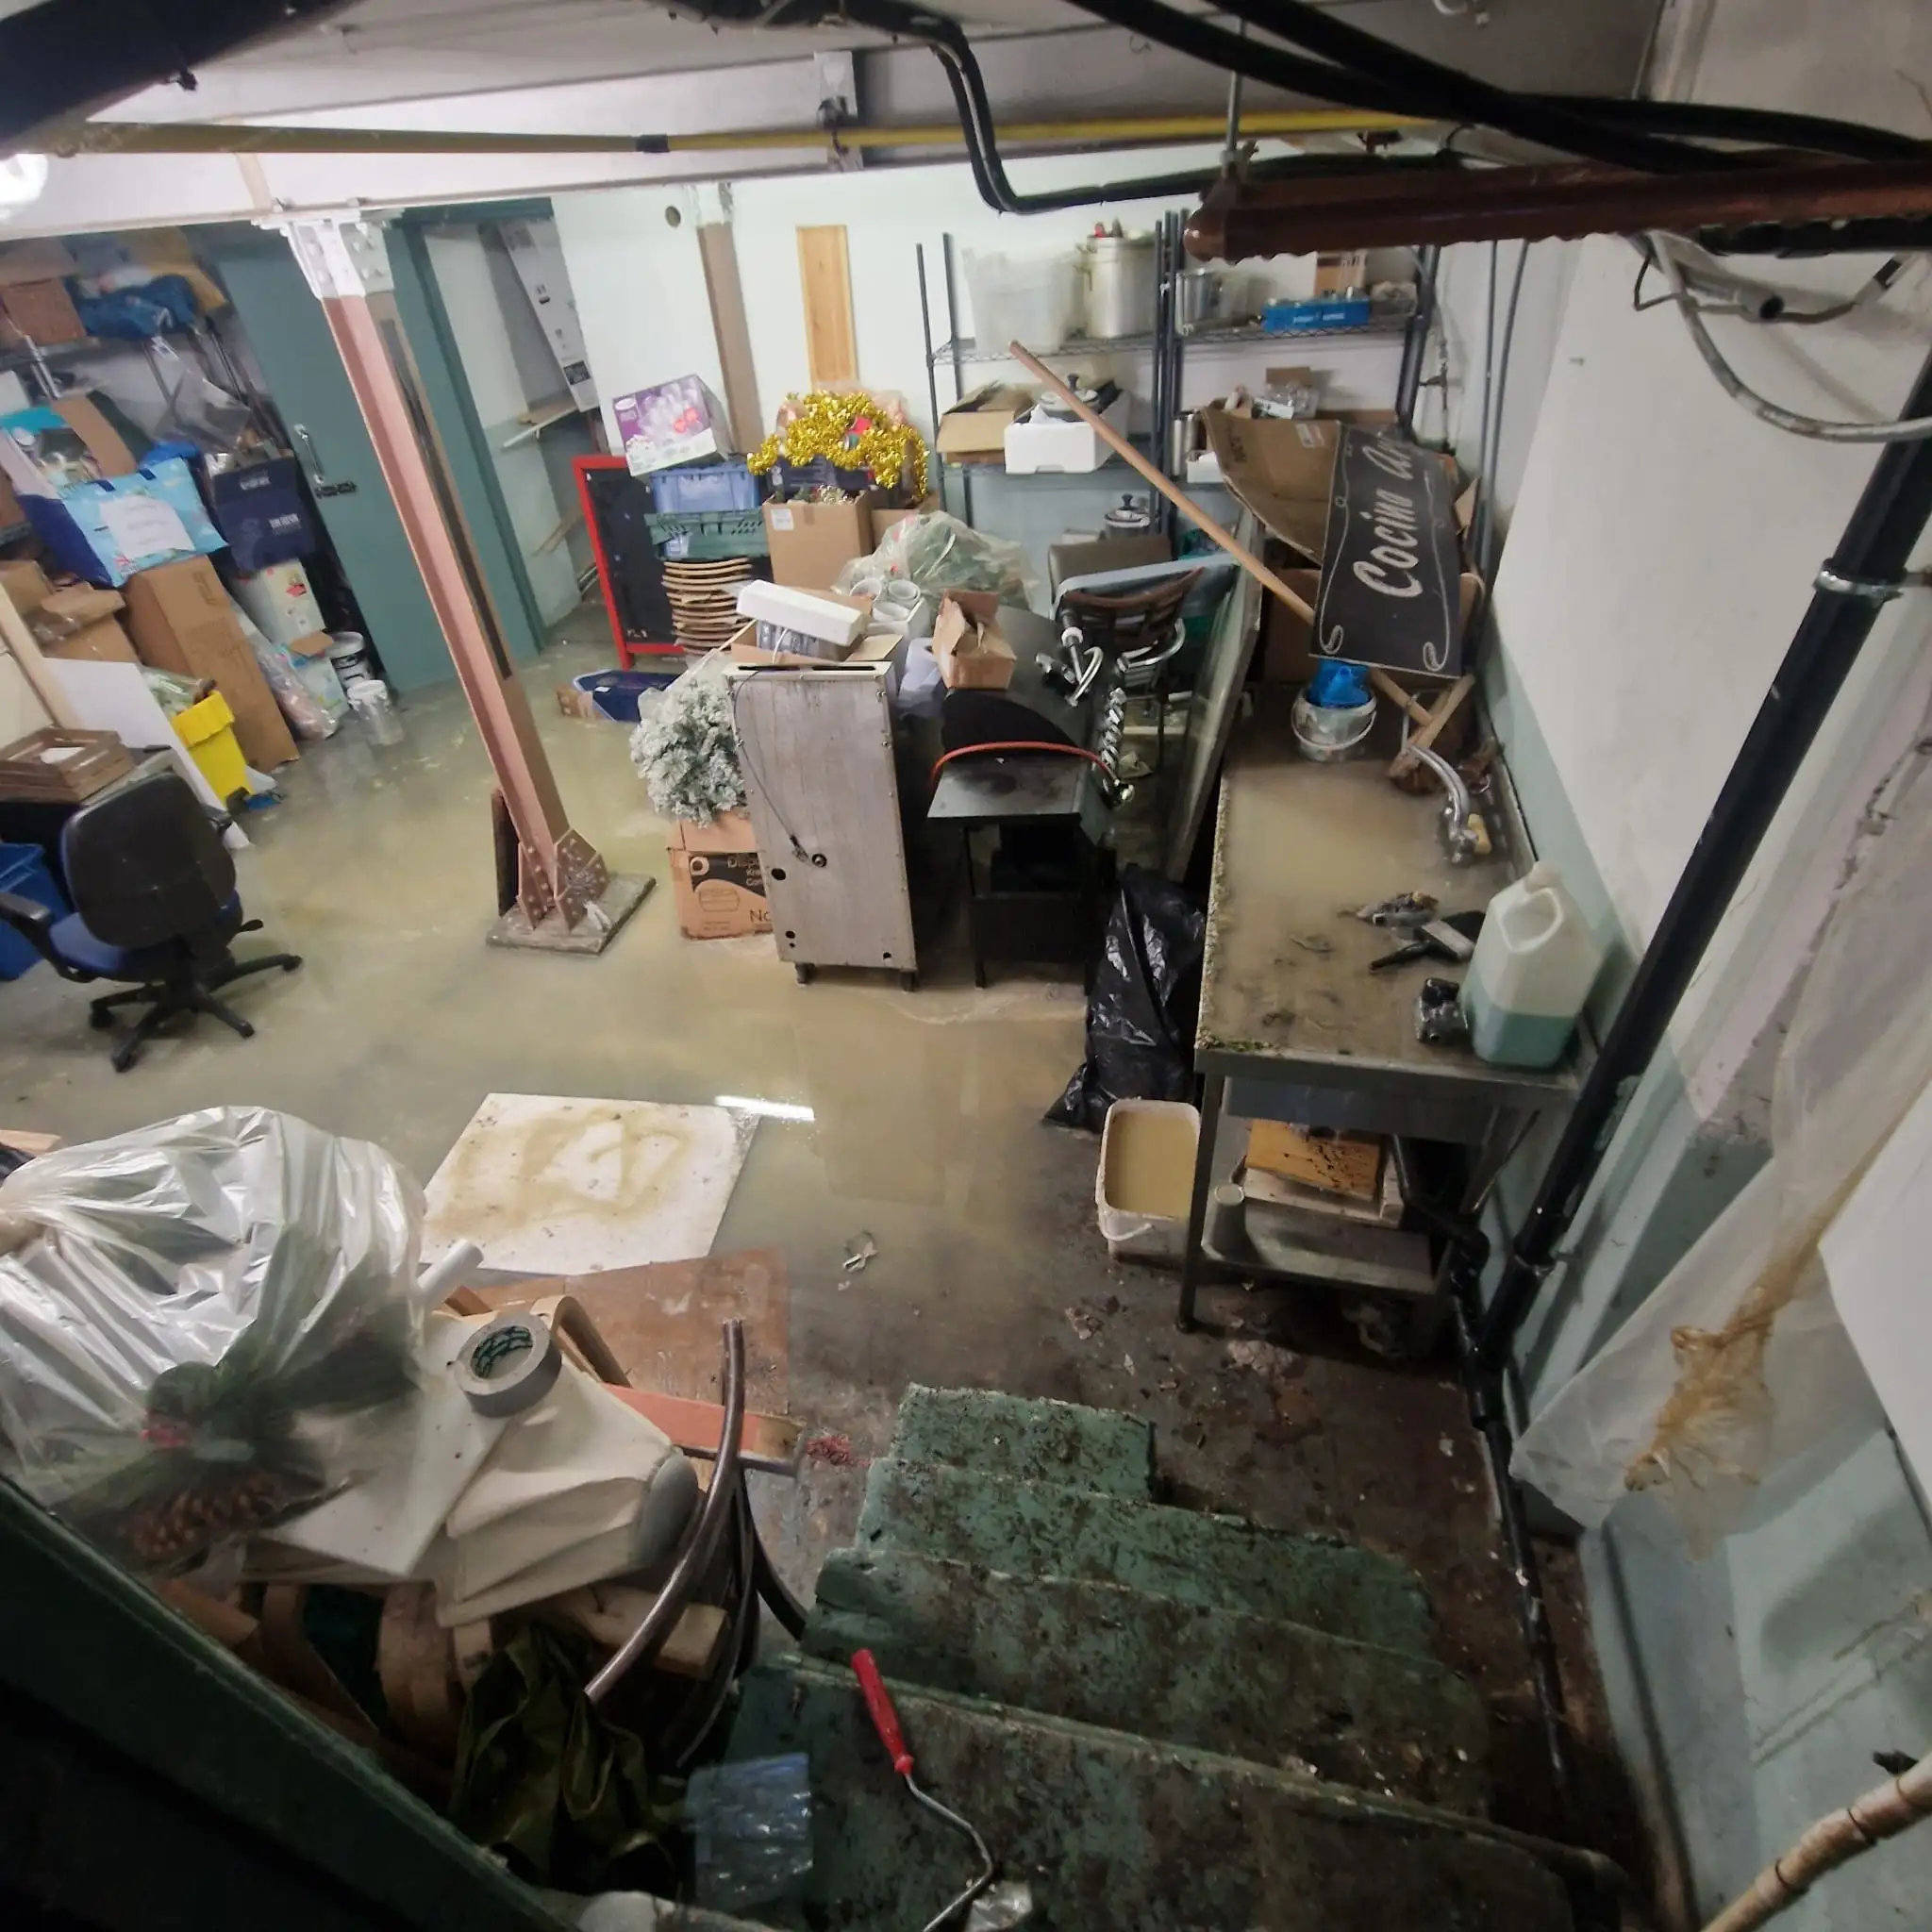
According to Water UK, water companies deal with hundreds of thousands of sewer blockages every year, and a large share are caused by fat, oil and wet wipes flushed or poured down household drains — exactly the kind of blockage this ladder is designed to catch early, before it becomes a shared network problem.
If you’re already past the first few rungs and the water’s not shifting, it’s worth getting a professional look before you spend another hour on it. You can reach our team through the contact page and we’ll tell you honestly whether it’s a rod job or something bigger.
How to Prevent It Next Time
Prevention is boring and it works. That’s the whole pitch.
- Never pour fat or cooking oil down a sink — let it cool in a container and bin it
- Fit drain guards on outside gullies before autumn leaf fall, not after
- Run hot water through kitchen waste pipes weekly, not just when there’s a problem
- Don’t flush wipes, even ones labelled “flushable” — WRAS guidance is consistently clear that most wipes don’t break down in the system
- Have inspection chambers checked and lightly jetted every couple of years if your property has mature trees nearby
If you rent out a property or manage several, this maintenance schedule pays for itself. A £90 preventative jetting visit is a lot cheaper than an emergency call-out at 11pm on a Sunday.
A Real Job: What a Bewbush Blockage Actually Cost
A homeowner in Bewbush called us last spring after two weeks of a slow-draining outside gully that she’d been treating with bicarb and hot water on and off. It kept coming back. When we lifted the inspection chamber, it was full — the blockage was downstream, near the boundary connection.
Turned out to be a root mass from a neighbour’s silver birch, roughly four metres into the run. Rodding wouldn’t have shifted it safely — we jetted it clear and recommended a CCTV survey to check for pipe damage from the root pressure. Total cost: £165 for the jetting, £120 for the survey. Had she rodded it herself and hit that root mass hard, there was a real risk of cracking an already root-stressed pipe, pushing the bill toward £1,800 for a dig-and-replace section.
That’s the whole argument for the ladder in one job. Two weeks of DIY that was safe and correct, followed by a professional call at exactly the right point. If you’re facing something similar, our guide to drain unblocking cost breaks down typical UK pricing by job type.
Is It Safe to Unblock a Drain Yourself?
Yes, for the first three or four rungs of the ladder — hot water, bicarb and vinegar, plunging, and a basic inspection chamber check. These carry almost no risk to the pipework and no risk to you beyond wet gloves.
Rodding carries more risk, mainly to older or already-damaged pipework, and to your own back if you’re not used to the physical technique. The CIPHE (Chartered Institute of Plumbing and Heating Engineering) is a useful reference point if you want to understand where DIY plumbing safely ends and professional work should begin — their guidance broadly lines up with the ladder above.
How Long Should DIY Drain Unblocking Take?
A straightforward kitchen sink or outside gully blockage should shift within 30–45 minutes using boiling water, bicarb, and plunging combined. If you’re at the one-hour mark with no improvement, you’ve probably found a blockage that needs rods or professional jetting rather than more patience.
Don’t let a stubborn drain turn into an afternoon-long project. That’s usually a sign the method has stopped working, not that you need to try harder.
If you’re near south London or the Surrey borders and want a second opinion before you commit to rodding, our engineers cover jobs like the one detailed in our Ewell KT17 service area, our Hornsey N8 team, and further south through our Horley RH6 crew. If you’re in south-east London, our Woolwich SE18 page covers that patch, and West Sussex jobs near Crawley are handled by our Bewbush team, the same one from the job above.
What I’d Do If This Were My Own House
Honestly? I’d try boiling water and bicarb first, every time, even for a bad-looking outside gully. It costs nothing and clears more blockages than people expect. I’d check the inspection chamber before I touched a rod, because that single look saves you from rodding blind.
And I’d set myself a hard rule: one hour, four steps, then I call someone. Not because I can’t rod a drain — I can, all day — but because I know exactly how a small blockage becomes a five-figure insurance claim when someone forces a rod through a pipe that was already failing. That rule has saved me money on my own house twice.
If you’ve worked through the ladder and you’re still stuck, or you’ve hit that resistance that makes you uneasy, don’t guess. Get in touch through our contact page and we’ll talk you through what you’re seeing before anyone reaches for a rod.
Published February 2026. Last updated February 2026. Written by a time-served drainage engineer at Drain Cleaning Solution, covering practical, safety-first UK drain unblocking guidance for homeowners and landlords.
Understanding how to unblock a drain early helps you budget and avoid bigger repair bills later.
