
How to Use Drain Rods Properly (and Not Lose Them)
Saturday morning, October, a terraced house in Luton. The gully outside the kitchen is black and full to the brim, and the previous tenant’s set of drain rods is leaning in the shed, stiff with rust. Twenty minutes later the rods are jammed twelve feet into the run, spinning free with no resistance, and the only way out is a full excavation. That call cost the landlord £310. It happens most weekends somewhere in Britain, and it happens for one reason: someone turned the rods the wrong way.
Learning how to use drain rods properly isn’t complicated, but it has exactly one rule that matters more than all the others combined. Get it wrong and you don’t just fail to clear the blockage – you turn a ten-minute job into a dig.
What You Will Need
A proper drain rod set comes in sections of roughly one metre, threaded at both ends, usually four to nine of them depending on the kit. You screw them together end to end and push them down the pipe until you reach the blockage.
- Drain rods – polypropylene, not the old steel ones. Buy or hire at least 10 metres worth; a garden gully to the main sewer connection can run further than you think.
- A worming screw attachment – a corkscrew-shaped head for dragging out rags, wipes and root fragments.
- A plunger attachment – a rubber cup for pushing through fat and silt blockages.
- Rubber gloves, the thick gauntlet type – not washing-up gloves. You’ll be handling whatever comes back up.
- A drain key or chamber cover lifter to get the inspection chamber lid off without breaking a fingernail or a hip.
- Old towels or a dust sheet for the ground around the chamber, and a bucket of water for a flush test afterwards.
- Something to mark your rods – a strip of tape every metre helps you judge distance to the blockage.
Step-by-Step Method: How to Use Drain Rods Without Losing Them Down the Pipe
This is the bit everyone skips reading and then regrets. Follow it in order.
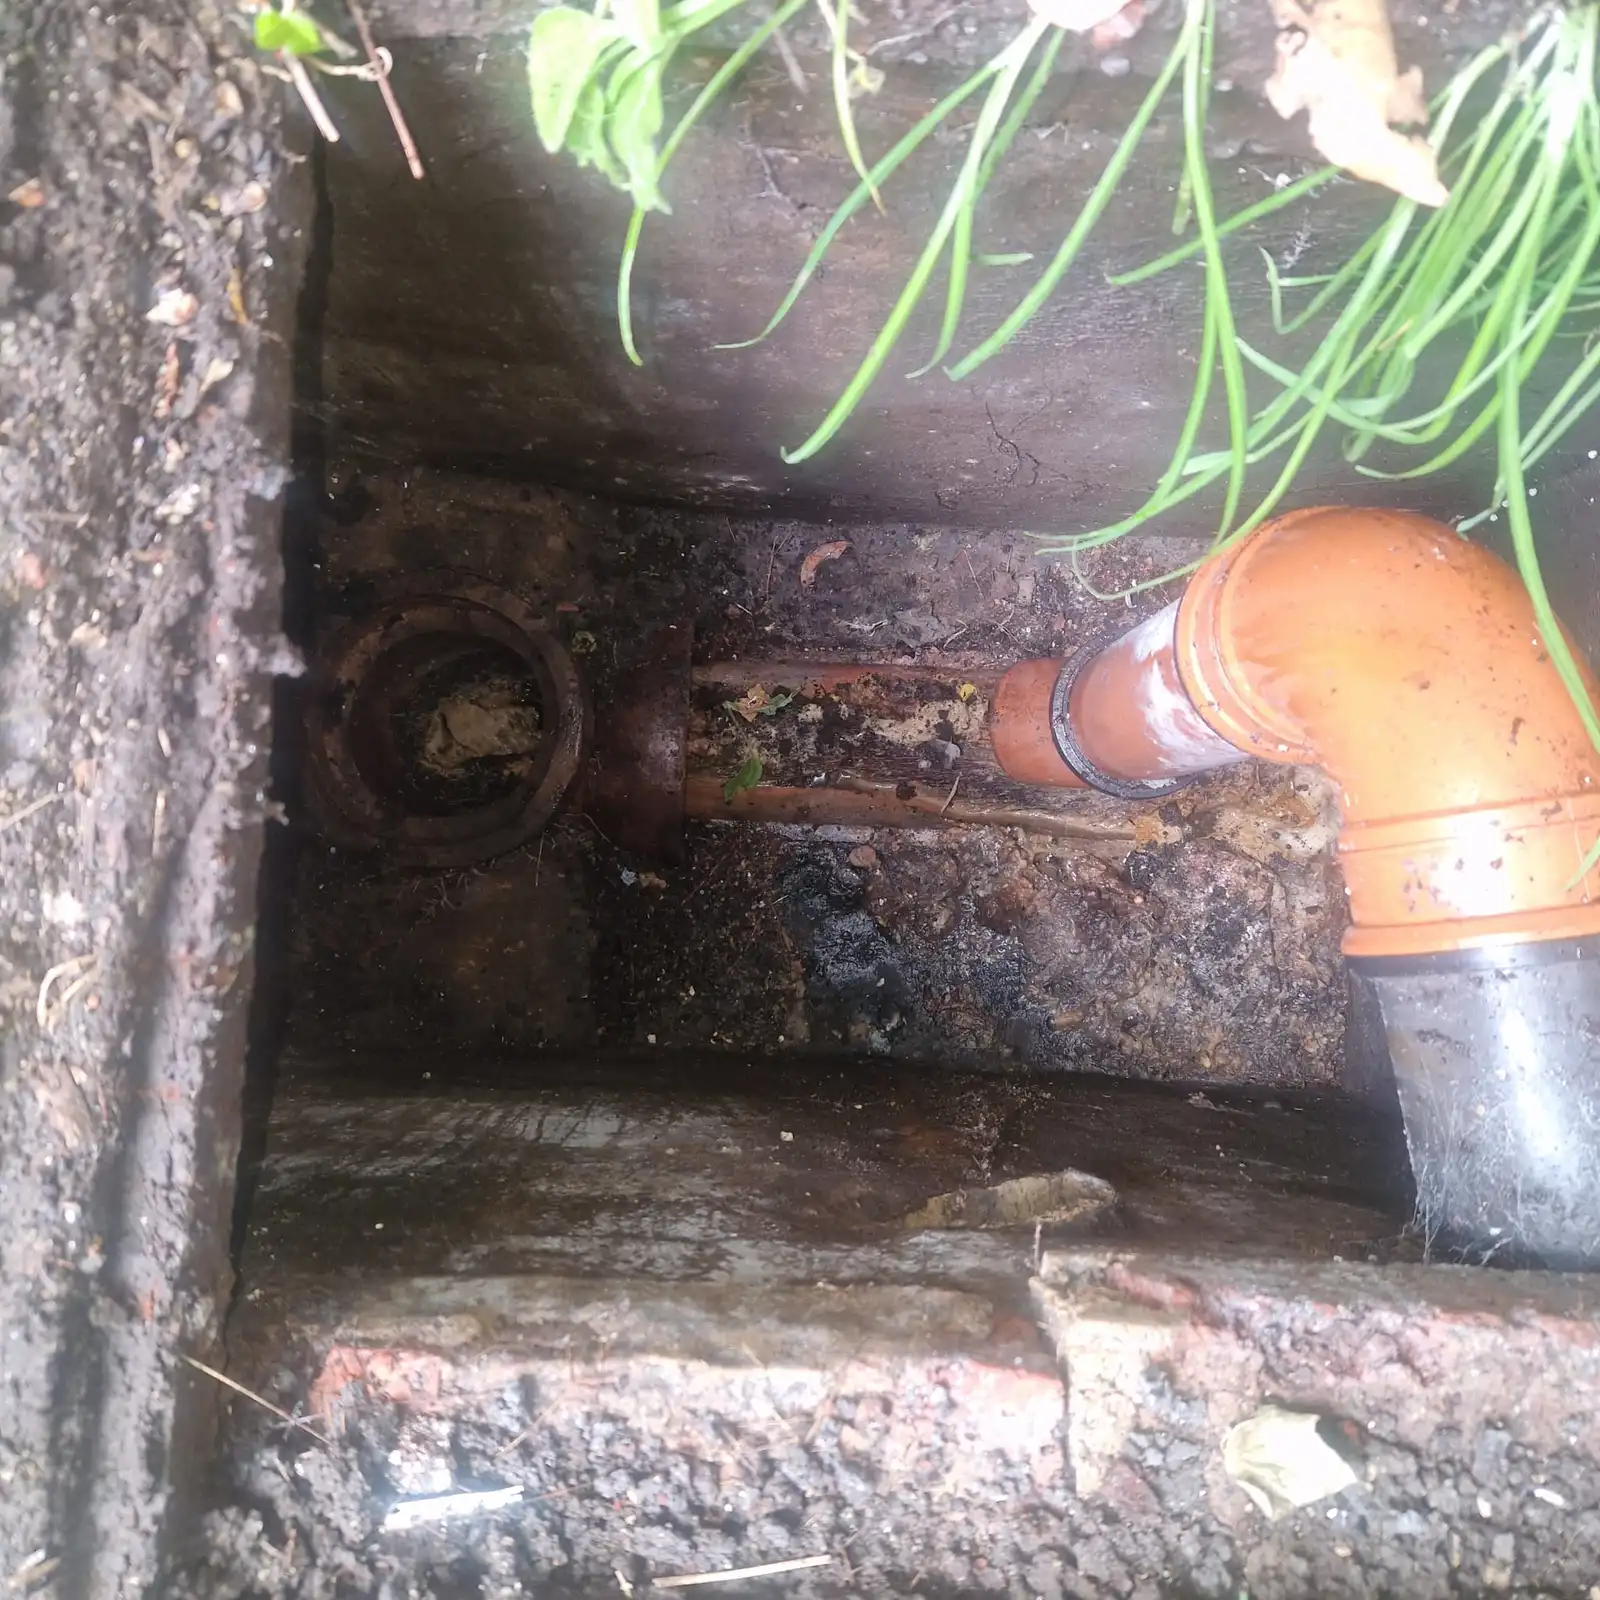
- Find your nearest inspection chamber. Look for a chamber upstream of the blockage – between the affected fitting and the boundary of your property. Lift the cover with the drain key, not a screwdriver wedged under the rim.
- Check the flow direction. If the chamber’s half-full and not moving, the blockage is downstream of it. If it’s dry, you’re above the blockage and need to find the next chamber down the line.
- Screw on your first two or three rod sections with the worming screw attached at the working end, and feed them into the pipe by hand.
- Turn clockwise only, every single time you push or add a section. This is the rule that saves the day. More on why below.
- Add rods one at a time as you go, always screwing clockwise before you push forward, keeping a firm hand on the joint nearest the chamber so it doesn’t spin loose.
- Push with short, steady strokes rather than one long shove. You’ll feel the resistance change when you hit the blockage – it’s a soft, muffled stop, not a hard clang.
- Work the rods back and forth gently against the blockage, still clockwise, breaking it up rather than trying to punch straight through in one go.
- Withdraw slowly, still turning clockwise as you pull, removing one section at a time and laying them out in order on your dust sheet.
- Flush test with a bucket of water poured down the affected sink, toilet or gully. Watch it drain away at normal speed before you call the job done.
Why Clockwise-Only Is the Rule That Actually Matters
Here’s the bit nobody tells you when they hand you a rented set of rods: every joint on a drain rod set is a simple screw thread, and it’s cut so that pushing and turning clockwise tightens it. Turn anticlockwise, even briefly, even by accident while you’re wrestling with a stiff bend, and the joint starts to loosen.
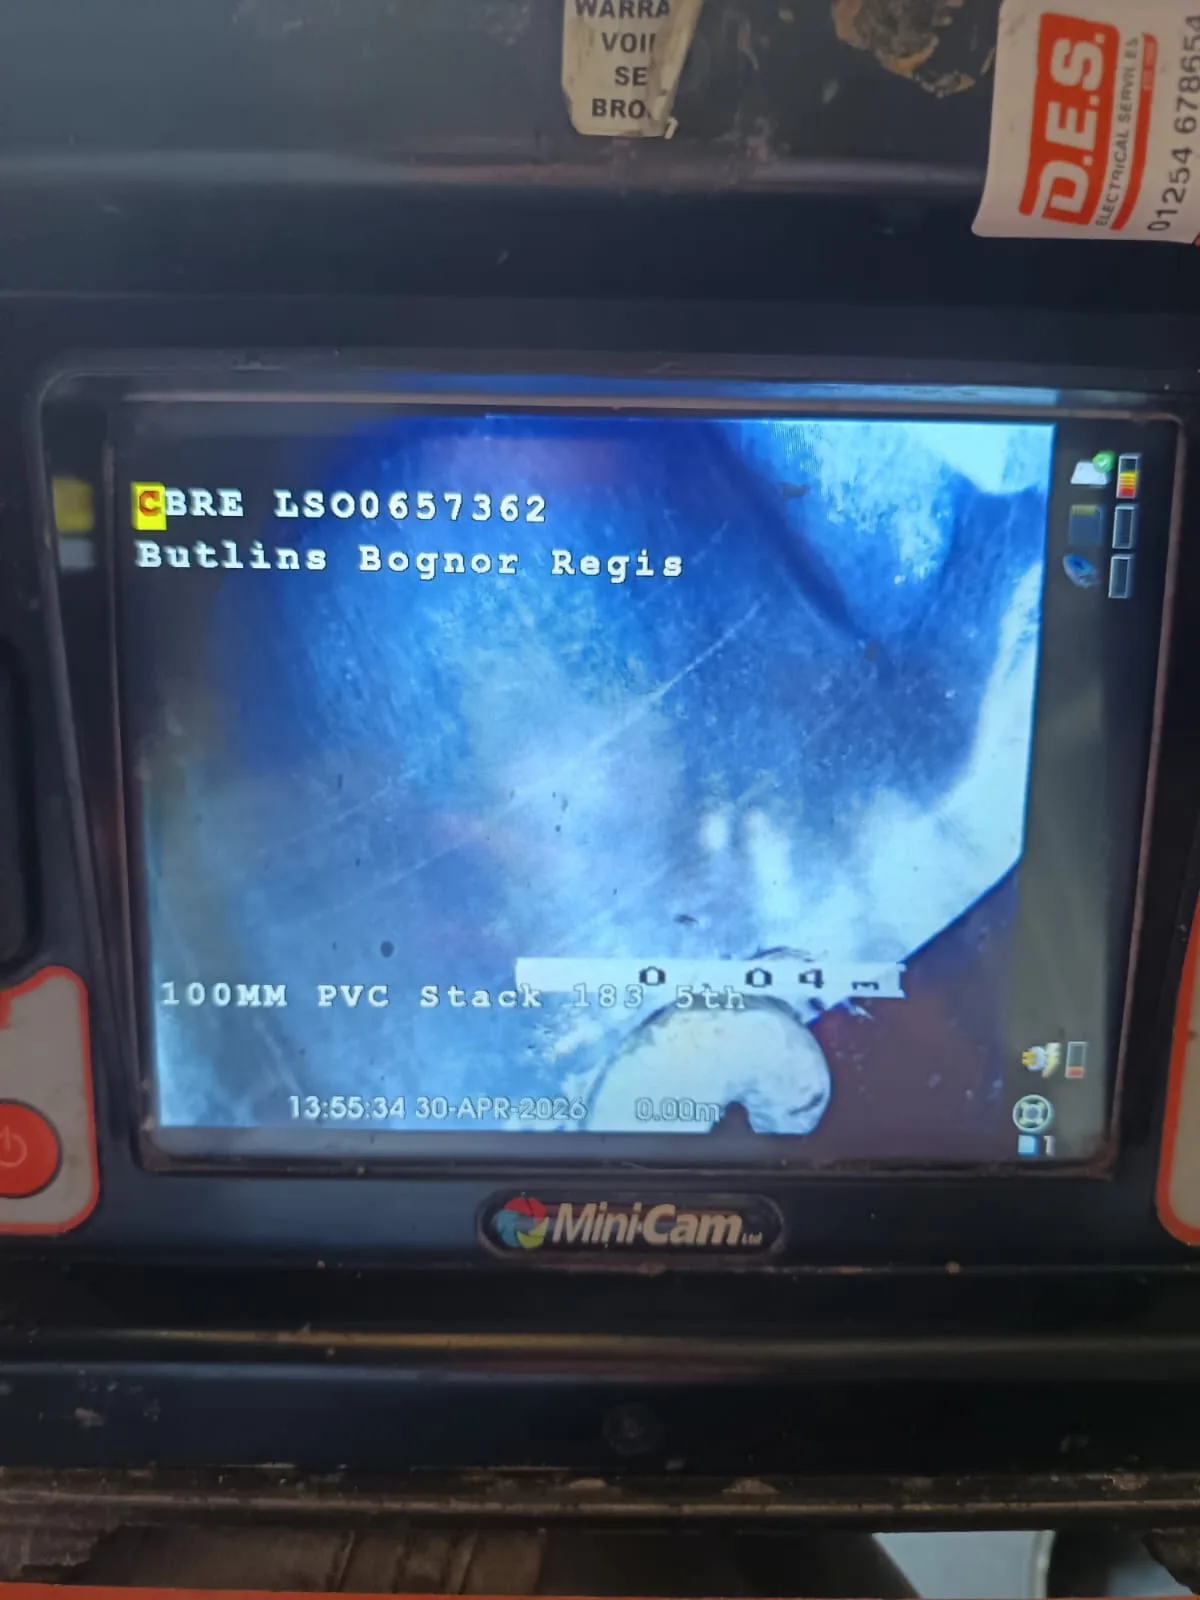
Do that twelve feet down a 100mm clay pipe and you won’t feel it happen. The rod section just keeps going, quietly unscrewing itself from the one behind it, and by the time you go to pull back you’re holding eight rods and there are three more sitting somewhere under next door’s driveway. Retrieving them usually means a CCTV survey and, in the worst cases, digging up the run. WRAS (wras.co.uk) sets standards for work on the water supply and drainage network precisely because botched DIY interventions like this are a recurring cause of damage that ends up needing professional remediation.
So the rule is simple and non-negotiable: clockwise to push, clockwise to add a section, clockwise even as you pull back out. If you ever feel a joint go slack or spin without resistance, stop immediately rather than carrying on and hoping.
Using Drainage Rods on Different Types of Blockage
Not every blockage responds to the same technique, and this is where a lot of first-timers get frustrated using drain rods on the wrong problem.
Fat and grease blockages, common below kitchen sinks, respond best to the plunger attachment – short clockwise pushes to break the mass apart rather than trying to bore through it. Root ingress, more common on older properties with clay pipework near mature trees, needs the worming screw and a lot more patience; you’re dragging out fine root hair a little at a time, not smashing through in one pass.
A flat in Brighton with a Victorian shared drain run took a neighbour forty minutes of steady rodding to clear a wet wipe blockage that had built up over months – each pull brought back a fistful of fibrous mush, and it needed six separate passes with the worming screw before the flow ran clear. Compare that to a semi in Doncaster where a single fat blockage came free in under five minutes with the plunger head. Same tools, completely different jobs.
When to Stop and Call a Pro
Rods have limits, and knowing where yours sit is what separates a good DIY job from a bad one.
- You’ve gone in more than 10 metres with no give. Beyond that, you’re likely dealing with a collapsed section, a displaced joint, or root ingress that rods alone won’t shift.
- Water is coming back up dark, foul-smelling, or with toilet paper in it from a chamber further down the line – a sign the blockage is deeper in the system, possibly on the shared or public section of drain.
- You’ve already lost a rod section. Don’t keep feeding more rods in after it hoping to snag it back – that’s how you end up losing three, not one.
- The chamber itself looks damaged – cracked brickwork, a sunken cover, or water pooling around the outside rather than inside it.
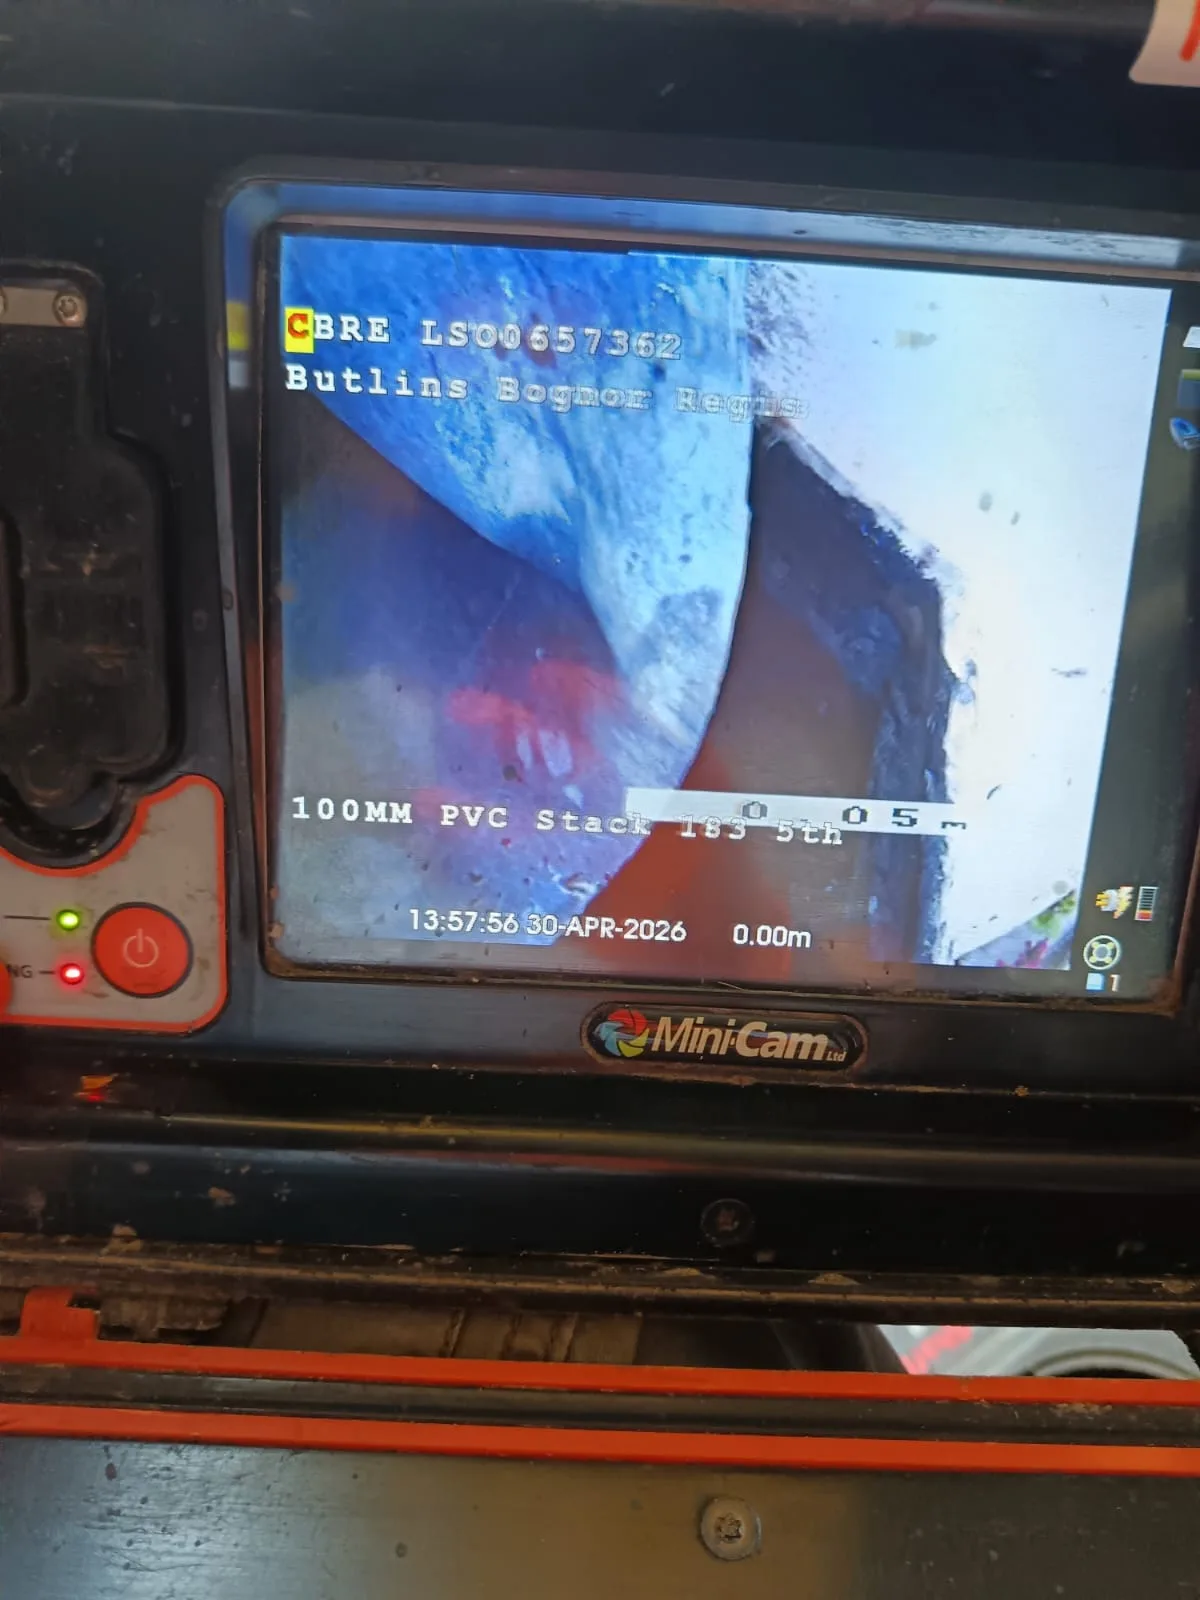
If any of that sounds familiar, a CCTV drain survey is the next sensible step – it shows exactly where the problem sits and what’s actually causing it, rather than guessing with another twelve feet of rod. Get a quote for a CCTV survey and clearance before you spend another weekend on it.
How to Prevent It Next Time
Most of the blockages that end with someone learning how to use drain rods at 8am on a Sunday were avoidable.
Keep wet wipes, cotton buds and kitchen roll out of the toilet entirely – Water UK (water.org.uk) has been clear for years that “flushable” wipes are a major contributor to sewer blockages nationally, wipe manufacturers’ claims notwithstanding. Let cooking fat cool and go in the food waste bin, not down the sink, however tempting it is to just rinse it away with hot water.
A gully outside the back door benefits from a quarterly check – clear leaves and silt out by hand before they compact into something rods will struggle with. If your property backs onto mature trees, an annual CCTV check on that run isn’t overkill; root ingress is slow and invisible until it isn’t. The Chartered Institute of Plumbing and Heating Engineering, ciphe.org.uk, recommends exactly this kind of preventative inspection over waiting for a full blockage to force the issue.
For a proper walkthrough of clearing techniques beyond rodding, our guide on how to unblock a drain covers the full range of options, and if you’re weighing up DIY against calling someone in, our breakdown of drain unblocking cost in the UK will save you a few awkward phone calls asking for quotes.
FAQ
Which way do you turn drain rods?
Clockwise, always – pushing in, working the blockage, and pulling back out. Turning anticlockwise loosens the threaded joints and is the single most common way people lose sections down the pipe.
How many drain rods do I need for rodding a drain UK-wide runs typically require?
Most domestic runs between an inspection chamber and the boundary need 6 to 10 metres, so a set of 8-9 one-metre rods covers the vast majority of UK properties.
Can I use drain rods on a shared or public sewer?
You can rod up to your property boundary, but blockages on a shared lateral or the public sewer are the responsibility of your water company – contact them rather than rodding past the boundary chamber.
If you’re in Watford and the rods have gone quiet on you twelve feet in, stop where you are and don’t chase them. Get a Watford engineer out to finish it properly with no call-out fee, rather than turning a stuck rod into a dug-up driveway.
Understanding how to use drain rods early helps you budget and avoid bigger repair bills later.
